
First sign-in
Open the web UI
Section titled “Open the web UI”Open a URL from --public-url in a browser. On the host of Paron, you can also open
https://localhost:<listen port>.
Certificate warning
Section titled “Certificate warning”If Paron has a certificate from Let’s Encrypt, the browser shows no warning.
If not, Paron generates its own certificate, and the browser shows a warning. You have two options:
- Accept the warning in the browser.
- Trust the certificate authority of Paron. Download it from
https://<name>/paron-ca.crtand add it to the trusted authorities of your system or your browser.
See Certificates.
Sign in
Section titled “Sign in”Sign in with the user name paron and the password from the installation.
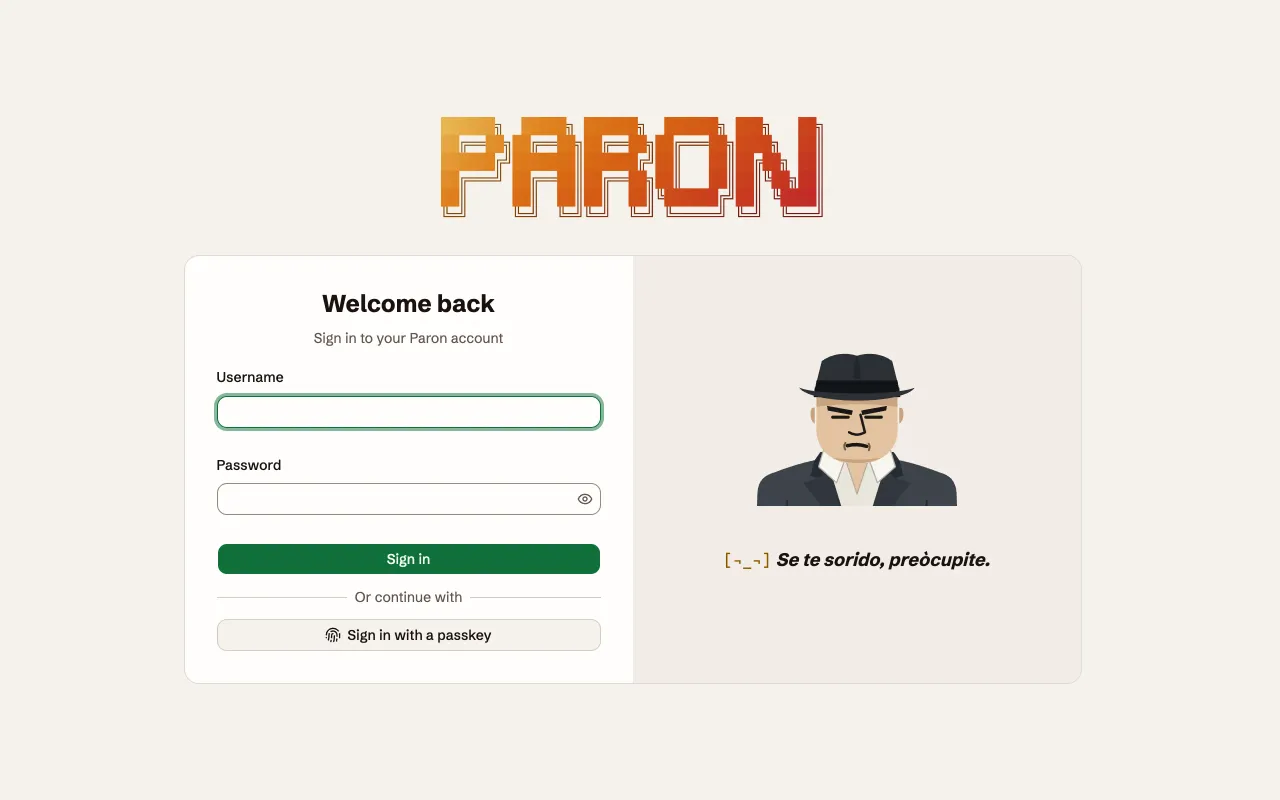
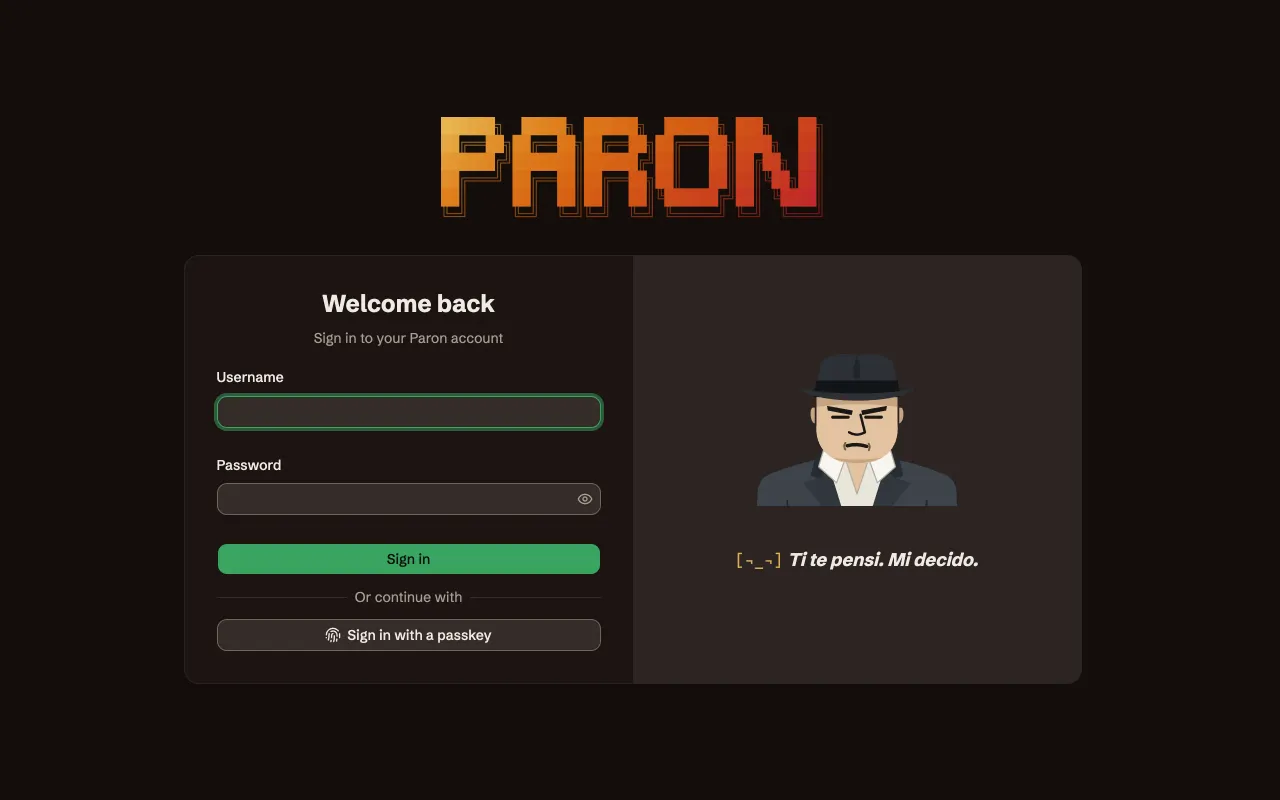
Set up Paron
Section titled “Set up Paron”After you sign in, the page Overview shows a short list of steps to set up Paron. Paron marks each step as done when it sees the result. To hide the list, select Skip setup.
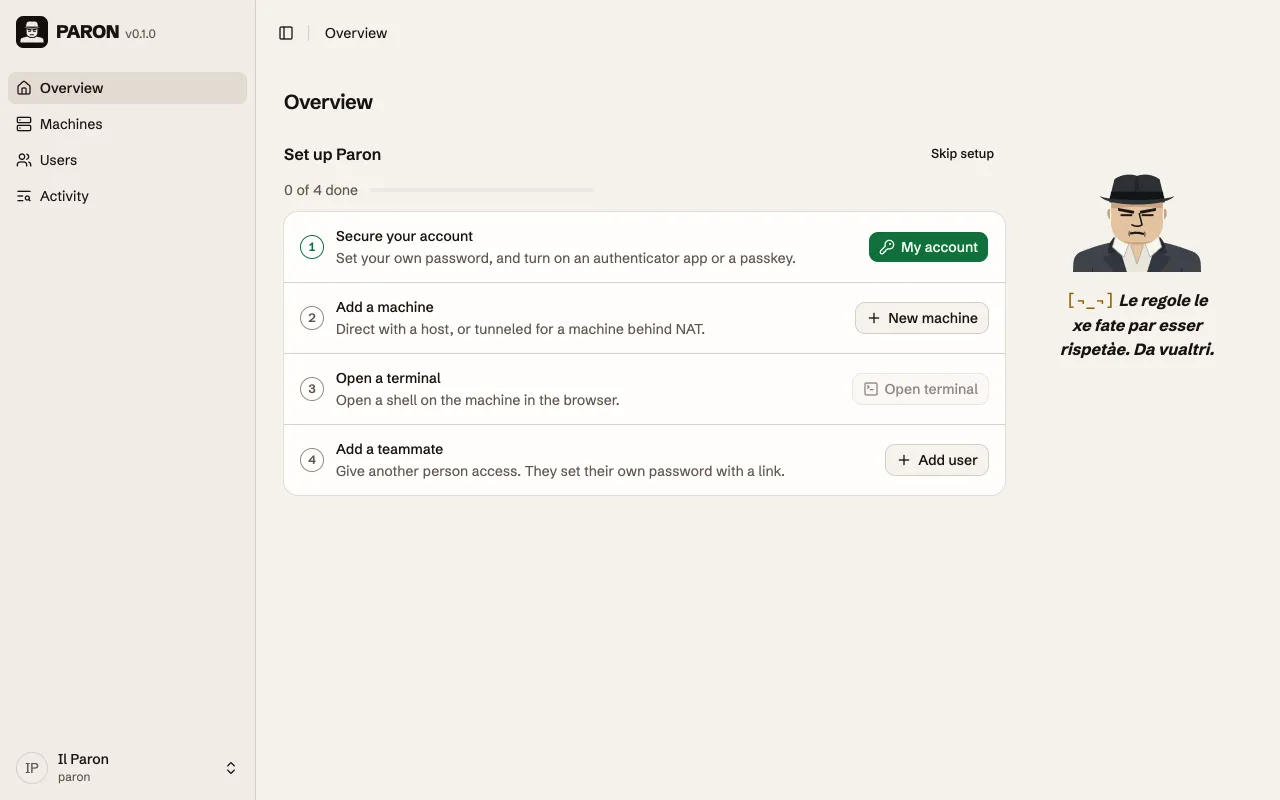
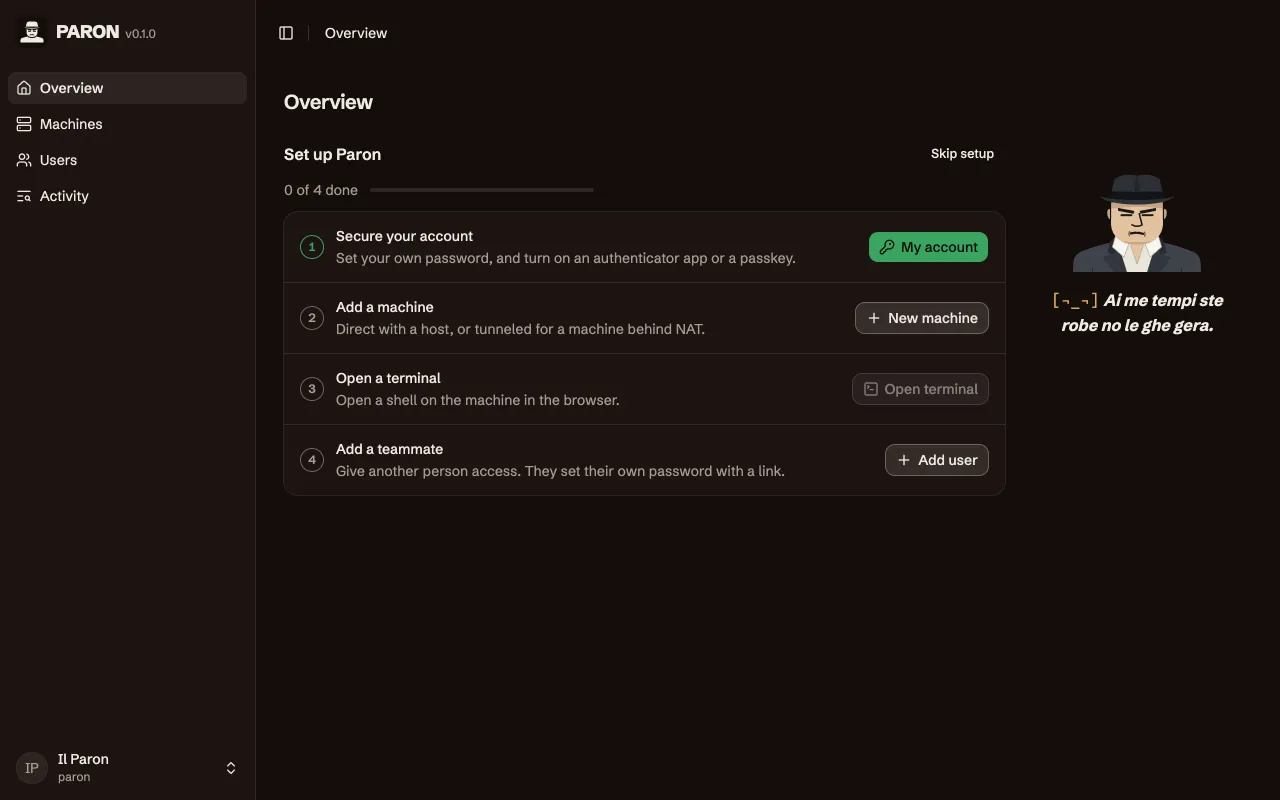
Do the first step before the others, because the password of paron is in the installation output:
- Open the user menu at the bottom of the sidebar, and select My account.
- In the card Sign-in methods, select Change password next to Password, and type the new password.
- Set up an authenticator app or add a passkey. See Sign-in methods.
© 2026 Nicola Bovolato. Paron is source-available under the PolyForm Shield License 1.0.0.